conoha VPS ubuntu 22.04にnginx 1.22、php7.4,mariadb 10.6をインストールし、WordPress設置
Nginx1.22 をインストール
※22.04の標準はNginx 1.8
apt update
apt upgrade
nginx を入れるための必要なものを先にインストール
# apt install -y curl gnupg2 ca-certificates lsb-release ubuntu-keyring
nginxの署名をインポート
# curl https://nginx.org/keys/nginx_signing.key | gpg --dearmor | tee /usr/share/keyrings/nginx-archive-keyring.gpg >/dev/null
署名が正しいものか検証
# gpg --dry-run --quiet --import --import-options import-show /usr/share/keyrings/nginx-archive-keyring.gpg
リポジトリを追加
# echo "deb [signed-by=/usr/share/keyrings/nginx-archive-keyring.gpg] http://nginx.org/packages/ubuntu `lsb_release -cs` nginx" | tee /etc/apt/sources.list.d/nginx.list
# echo -e "Package: *\nPin: origin nginx.org\nPin: release o=nginx\nPin-Priority: 900\n" | tee /etc/apt/preferences.d/99nginx
インストール実行
# apt update
# apt install -y nginx
バージョンの確認
#nginx -V
nginx version: nginx/1.22.0
自動起動設定
systemctl enable nginx
再起動
systemctl restart nginx
このままではWEBで確認できないので、ファイアウォールの設定を変更
ファイアウォールを設定
一度全てを拒否にセット
# ufw default deny
必要なものだけ個別に追加していく
# ufw allow 22/tcp //ssh<
# ufw allow 80/tcp   //HTTP
# ufw allow 443/tcp  //HTTPS
ファイアーウォールを有効化
# ufw enable
ファイアーウォールの確認
# ufw status
80、22、443が追加されていれば、WEB確認可能に。
PHP7.4をインストール
必要なパッケージをインストール
sudo apt install software-properties-common apt-transport-https -y
レポジトリをインポート
sudo add-apt-repository ppa:ondrej/php -y
sudo apt update
sudo apt upgrade
sudo apt install php7.4 php7.4-fpm php7.4-cli php7.4-mysql php7.4-curl php7.4-mysqlnd php7.4-gd php7.4-opcache php7.4-zip php7.4-intl php7.4-common php7.4-bcmath php7.4-imap php7.4-imagick php7.4-xmlrpc php7.4-readline php7.4-memcached php7.4-redis php7.4-mbstring php7.4-apcu php7.4-xml php7.4-dom php7.4-redis php7.4-memcached php7.4-memcache php7.4-sqlite3 -y
phpのバージョン確認
# php -version
PHP 7.4.30(Cli)
phpの動作確認
sudo systemctl status php7.4-fpm
自動起動設定
systemctl enable php7.4-fpm
systemctl restart nginx
systemctl restart php7.4-fpm
MariaDBをインストール
# apt install mariadb-server
自動起動設定と起動
# systemctl enable mariadb
# systemctl start mariadb
データベースの初期設定
#mysql_secure_installation
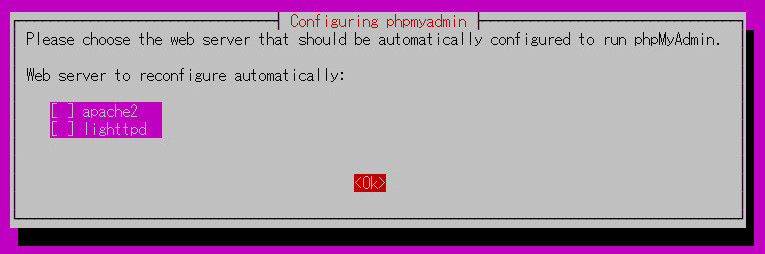
「apach」でも「lighttpd」でなく「nginx」なので「tab」を押して「OK]
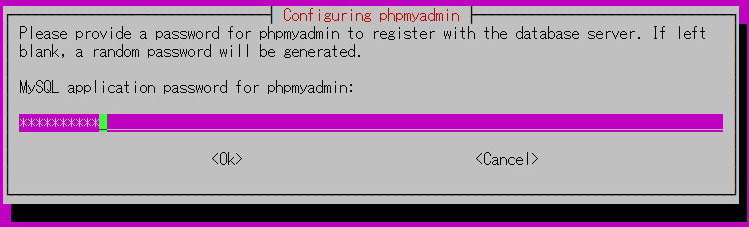
パスワードの入力
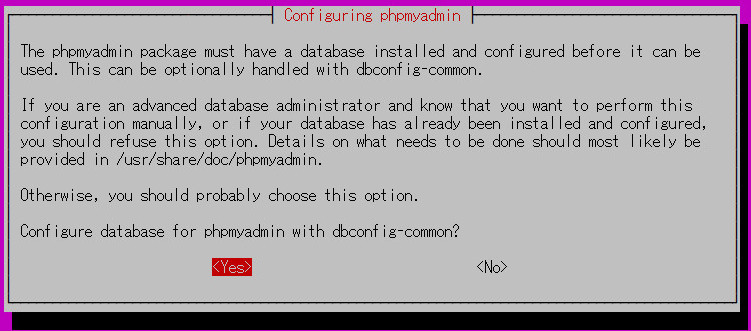
phpmyadminのデータベースを作成するか「YES」
Enter current password for root (enter for none):
Switch to unix_socket authentication [Y/n]
パスワードを変更しますか?[Yes]
Change the root password? [Y/n]
新しいパスワードを入力(入力内容は見えない)
New password:
再確認
Re-enter new password:
匿名ユーザーを削除しますか?
Remove anonymous users? [Y/n]
rootユーザーのリモートアクセスを拒否しますか?
Disallow root login remotely? [Y/n]
サンプルデータベースを削除しますか?
Remove test database and access to it? [Y/n]
権限テーブルを再読込しますか?
Reload privilege tables now? [Y/n]
完了!
Thanks for using MariaDB!so
Apache Benchで計測
インストール
apt install apache2-utils
CertbotでSSL化
sudo apt install certbot python3-certbot-nginx
DNSを新しいサーバーに向ける。
切り替わったか確認する方法
dig example.jp
切り替わったら、
sudo certbot --nginx -d example.com
wwwも一緒に設定するなら
certbot --nginx -d example.com -d www.example.com
自動更新機能が動いているか確認。
systemctl status certbot.timer
Comment